About a year ago I had found this funky square frying pan out on the street. The odd shape attracted me, yet the aluminum metal made it not the greatest frying pan. Fast forward to this year; I wanted a bird feeder and thought about the old frying pan.
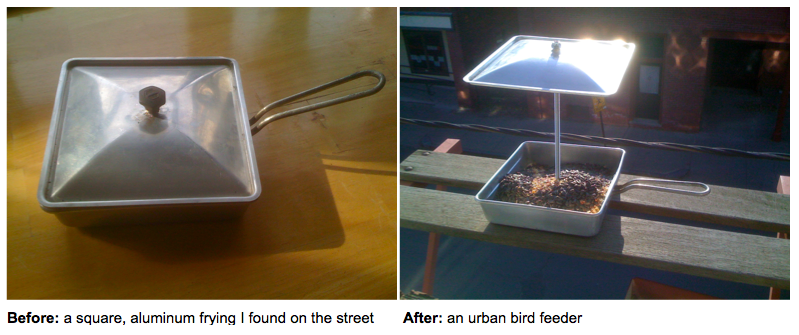 _____________________________________________________________________
A trip to the hardware store [one of my favorite places to shop] gave me the bits and pieces I needed.
$1.19 1 -5/16″ threaded rod
$ .99 3- 2″ diameter washers @.33/ea
$ .57 3 -5/16″ nuts @.09/ea
$ .14 1-5/16″ cap nut
_____________
$3.17 Total Cost
________________________________________________________
 Step 1: Removing the old lid knob
This actually proved to be the most difficult step of the whole project. However, after some strong wiggling with the pliers, it popped off and left a small hole in the lid, from which I began.
 Step 2: Enlarge the hole on the lid
I used a simple drill-bit holder [not professionally recommended, but it worked] to enlarge the hole left by the old lid knob.
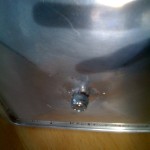 Step 3: Prepare lid
As I wanted the lid to remain as a roof, I put the threaded rod into the hole and capped the outside top of the lid with the cap nut. Then, I added the washer up into the inside of the lid and secured that with another nut.
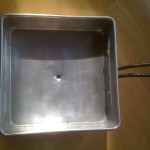 Step 4: Preparing the bottom of the pan
I measured to find the exact center of the bottom pan, marked it and pounded the drill-bit holder to create a small hole. This was easy, as aluminum is lightweight. I then used a series of drill bits [from my tool box] to further enlarge the hole until it would allow the 5/16″ threaded rod to pass through the bottom of the pan.
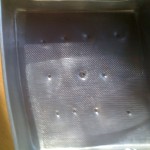 Step 5: Drainage
I pounded a few small holes into the bottom of the pan, to allow for any rain/snow drainage-again using the drill-bit holder.
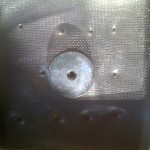 Step 6: Screen lining
To keep the birdseed from falling through the drainage holes, I cut a small square of lightweight screen to line the bottom of the pan. Again, I poking a hole into the screen lining to allow the rod to pass.
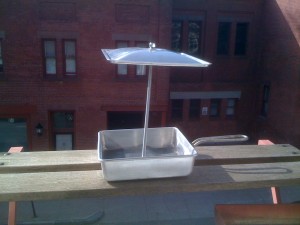 Step 7: Attaching the bottom pan
I put a nut onto the threaded rod, then a washer, [just as I had done for the lid in Step 3] positioned the bird feeder onto the slotted perch [the old air conditioner shelf] and -from the bottom- threaded on the washer and the last nut. I tightened the nuts-to fit snug and straightened out the bird feeder.
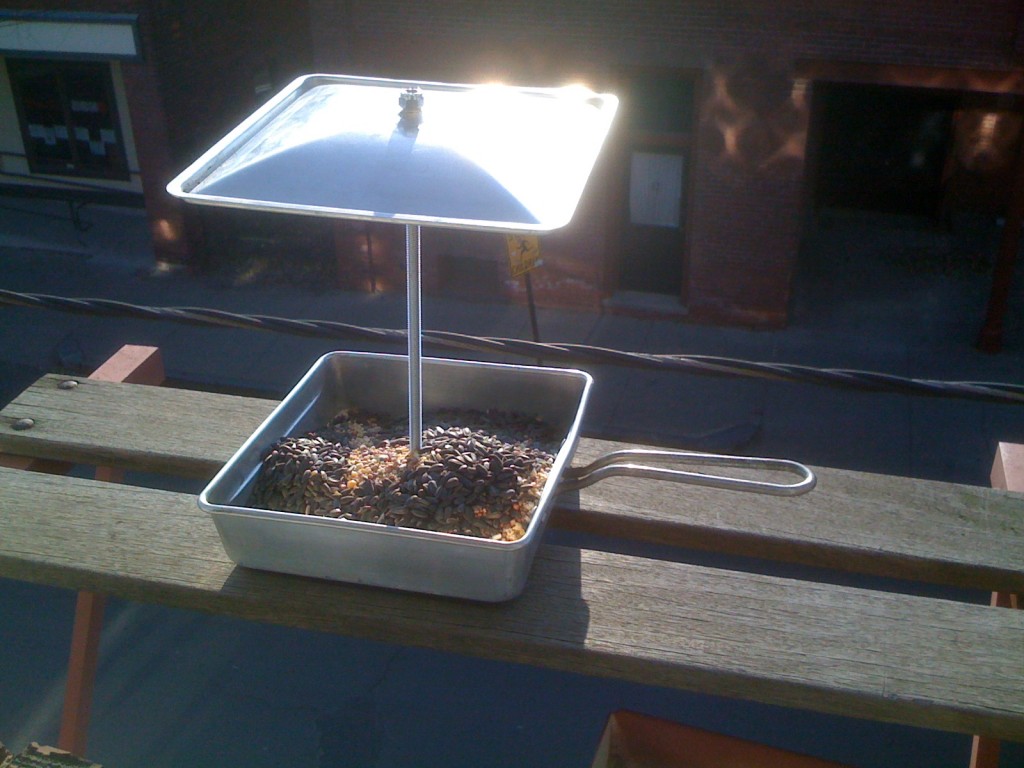 Step 8: Fill the feeder and wait.
I often see cardinals flying up and down our street, so I’ve added extra black sunflower seeds in hopes of attracting them to the feeder. I also hope the old air conditioner shelf will serve as a landing pad and dream the hungry birds will soon be perched up onto the edges of the frying pan and have a nice meal.
