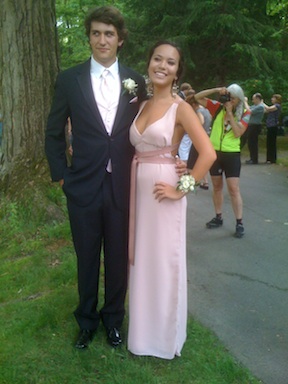
So, this year’s prom dress was slightly less complicated than last year’s dresscue.  Of course, 2011 had a twisty middle and end.

This year’s dress was also inspired by a trip to NYC  last December and a visit to Shareen Vintage. A girl has to start planning Prom way in advance. Post inspiration, was a trip to Osgoods for fabric and supplies and then the sewing began.  Within a few weeks months the dress shaped into this: [I love that Jan got captured in the background.  She was taking images as well.]

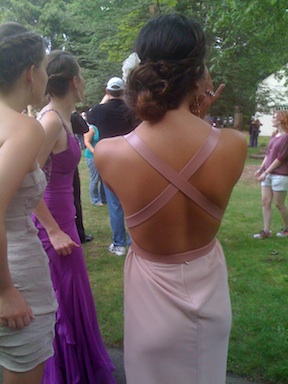
the back of the dress looks like this:

I lined the entire dress and created the straps by cutting and gluing vinyl strips together.

Here’s the whole gang:

Even Brendan happened to be in town:

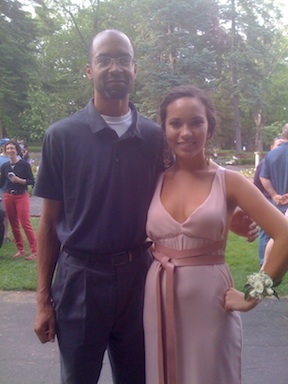
Xernay and Maggie:

And Mr Harp:And Xernay’s friend:

A good time was had by all.

What will be the next Dresscue?

Ever since I painted my old kitchen rug with bold chevron stripes, I’ve been thinking about painting my vinyl bathroom floor tiles. So, I gave it a go and it turned out even better than I thought.  Note: I used porch and floor paint from my local hardware store so as to have a durable finish that will withstand the traffic the floor will be receiving and the whole process cost: $75 along with 6 hours of my time [not including the final drying which was an additional 8 hours, overnight]. We were able to walk on the entire floor 30 minutes after the final coat of paint.  I waited the entire 8 hours before putting anything down onto the newly painted floor.

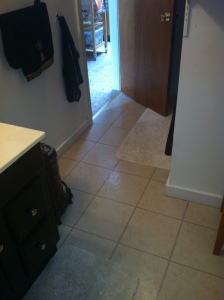
Bathroom Vinyl Tiles Before:
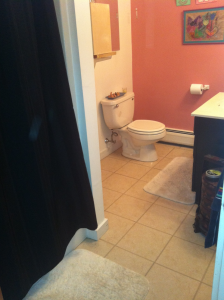


Here is what the bathroom floor looked like before.  This vinyl floor tile was laid directly over old linoleum and the job was, well, let’s just say, did not appear to be completely professional. Added to that, the old, tired swirly pattern in a dull beige…and I think you can start to get the picture.

Step 1 Preparing the old vinyl: I sanded the vinyl floor tiles with a 180 Ct sandpaper.  After sanding I vacuumed the whole area.

Step 2 Creating tooth on the old vinyl: I deglossed the vinyl floor with a deglosser liquid.  This is is a somewhat caustic process, so be sure to wear protective eye wear, gloves, and be sure the area in which you are working is well ventilated.  I had the overhead fan on the whole time and had another portable fan pulling fresh air into the bathroom. The deglosser is applied with a clean cloth and removes any gloss finish the sandpaper didn’t get.  Steps 1 & 2 creates the ‘tooth’ from your old vinyl tiles and prepares the surface to accept the new primer and paint.

Step 3 Painting prep: I used painter’s tape and taped off the areas I didn’t want the paint to adhere to.

Step 4 Priming the vinyl: Primer is then applied. I used 2 coats and laid each coat on somewhat thinly. It took about 45 minutes between each coat to dry. Check the label on your printer and follow those steps.  The primer is an important step that prepares the vinyl surface for painting.  I used disposable sponge paint brushes, however you could use a roller or traditional brush.
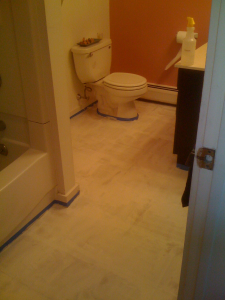


Step 5 White base coat: Since I wanted black and white squares, I next painted on the white base color, over the primer. This time I used a disposable sponge brush and a small roller. The white paint took 2 coats and I allowed 45 minutes between coats for drying.
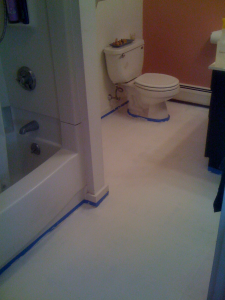


Step 6 Creating the black squares: Taping off the squares was the most time consuming process.  I followed the old tiles, as my guide, and taped off the tiles I wanted to maintain the white color.
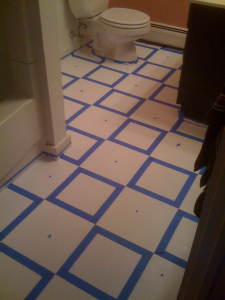


Step 7 Painting the black squares: Next I applied the black paint with another disposable sponge brush.  In order to get the density of black I desired, I applied 2 coats of black, waiting 30 minutes between coats.  After the second coat of black paint went down, I waited another 30 minutes, then pulled up the painting tape.
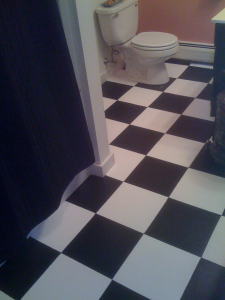
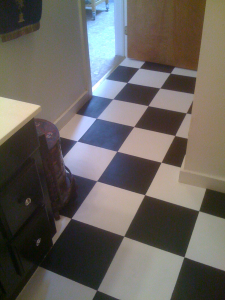


That is all that is needed.  Except I did go in with a small paint brush and touched-up a couple of areas where the black paint had seeped under the painters tape.

One last time: Painting over vinyl tiles.

Before                                                                 After


The whole bathroom appears bigger, cleaner and the eye is fooled into thinking these are actual tiles, when I just painted over the old vinyl floor tiles.


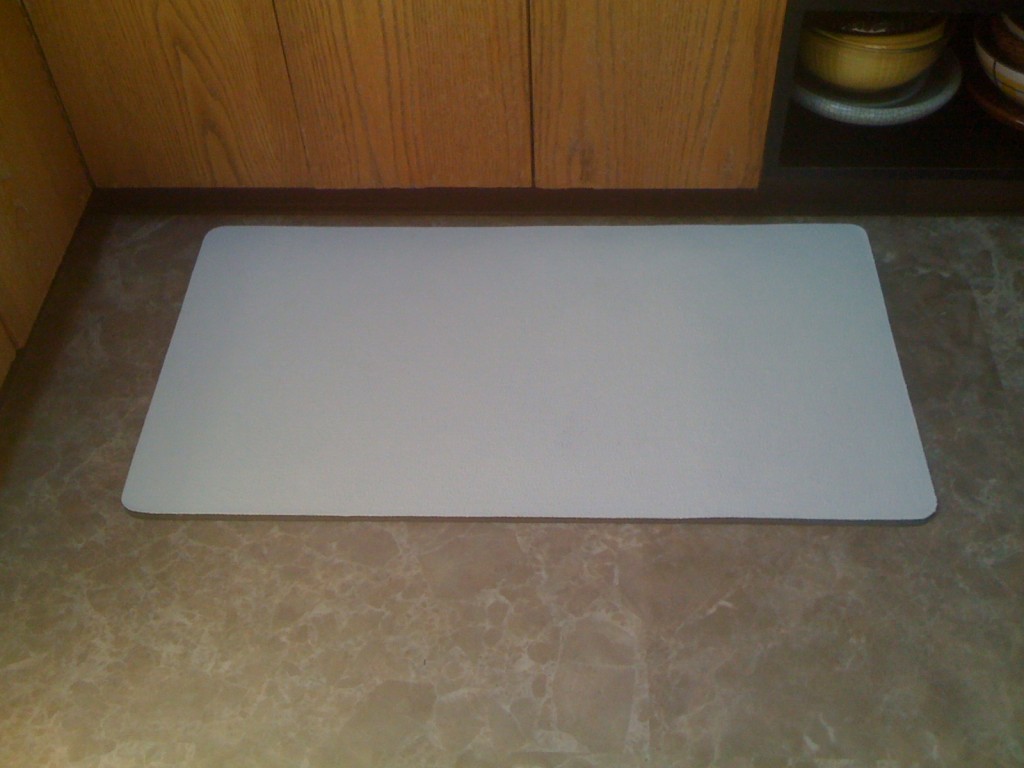
We’ve had this old rug, near the kitchen sink that while comfy on the toes is pretty hideous. Over New Year’s while cruising some interior design blogs, I thought of painting this rug with some chevron stripes.

Before and After

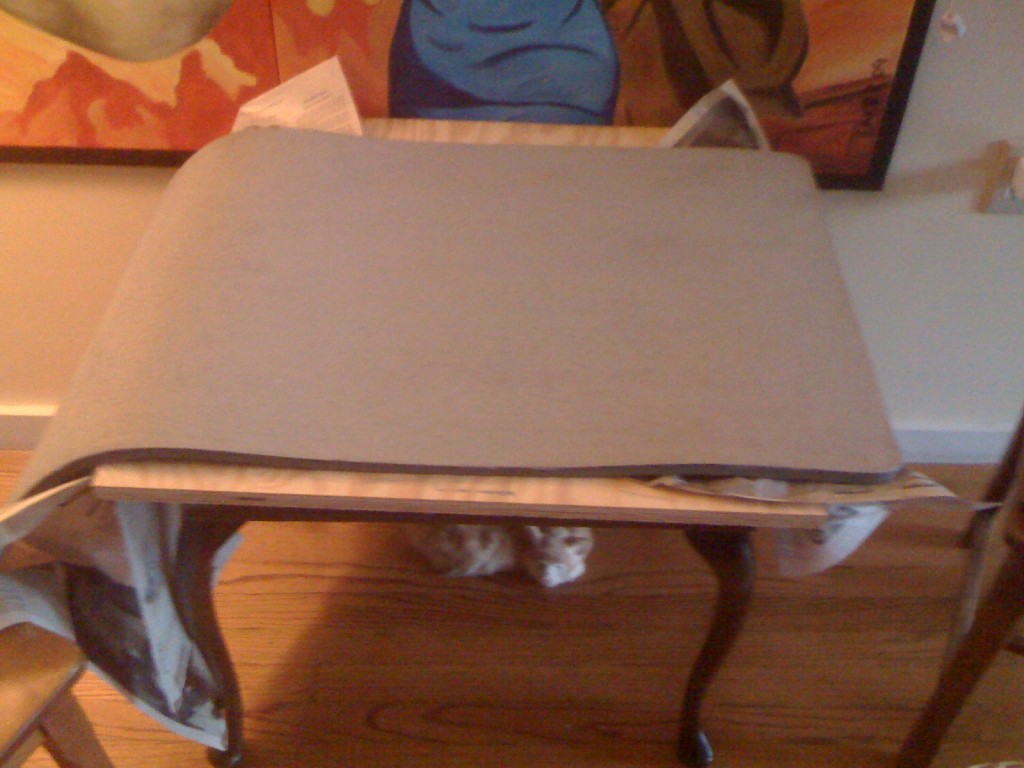
Here are the steps I took to get the Chevron look. The rug is a foam pad, nice on the feet, horrible on the eyes.

Rug Before

Step 1

  • Two coats of primer. I had some latex acrylic left over from another project

Primer

Step 2

  • Two coats of white latex acrylic base paint
  • I chose an off-white-ivory color thinking bright white might show too much dirt

White Background Color

Step 3

  • Chevron stripes look a little bit like Charlie Brown stripes and achieve the effect, I measured down the center width of the rug, then divided those spaces in half.
  • I wanted the stripes to be fairly thick, you could make ’em wider.  So, I worked from the center outwards measuring 6 inches from the center point.
  • Using a light pencil mark, I ticked the 6 inch measurements and drew the diagonal stripes to form the Chevron effect
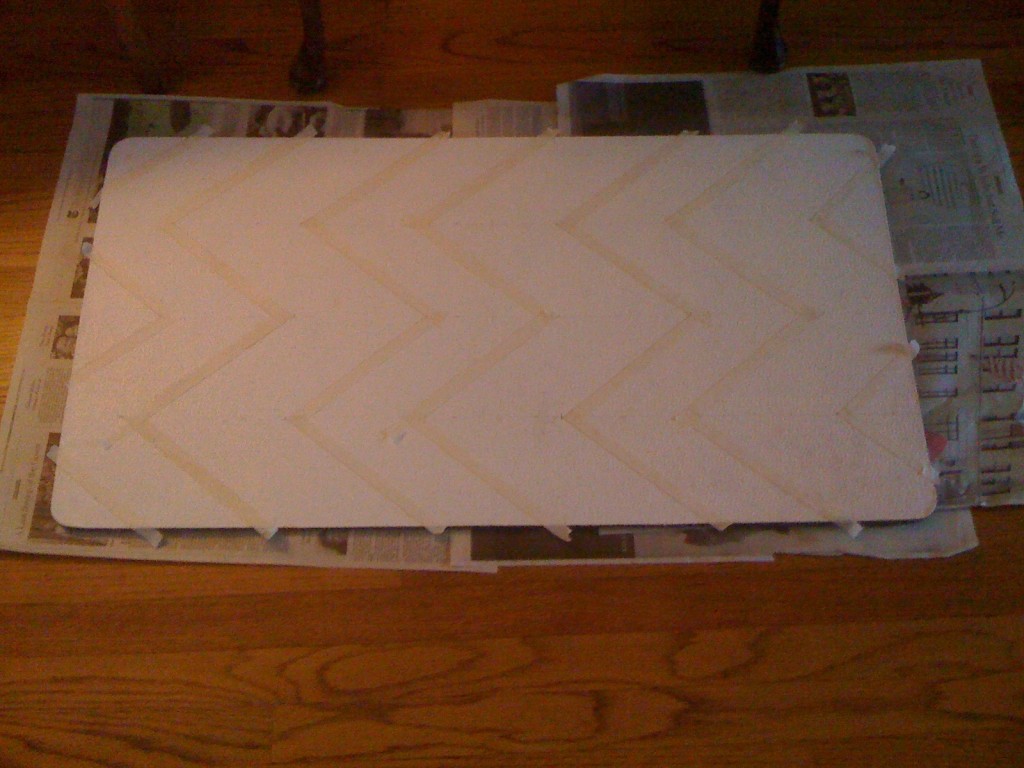
  • Finally, I masking taped off the stripes I was going to paint black

Measure twice before masking. This can also be done with a stencil

Step 4

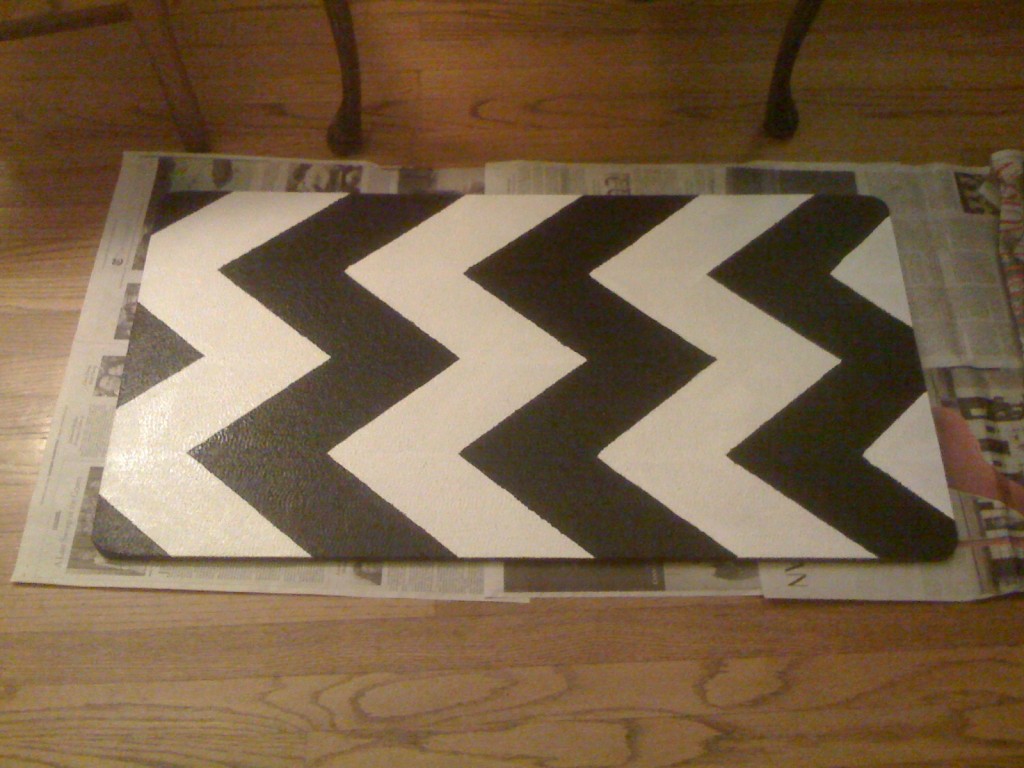
  • I painted in the black stripes
  • Be sure to allow full drying time, then pull the masking tape off
  • I touched up edges with the white paint as well
  • I coated the entire rug with a polyethylene sealer

I wanted to see how it was going to look, so I put it by the sink

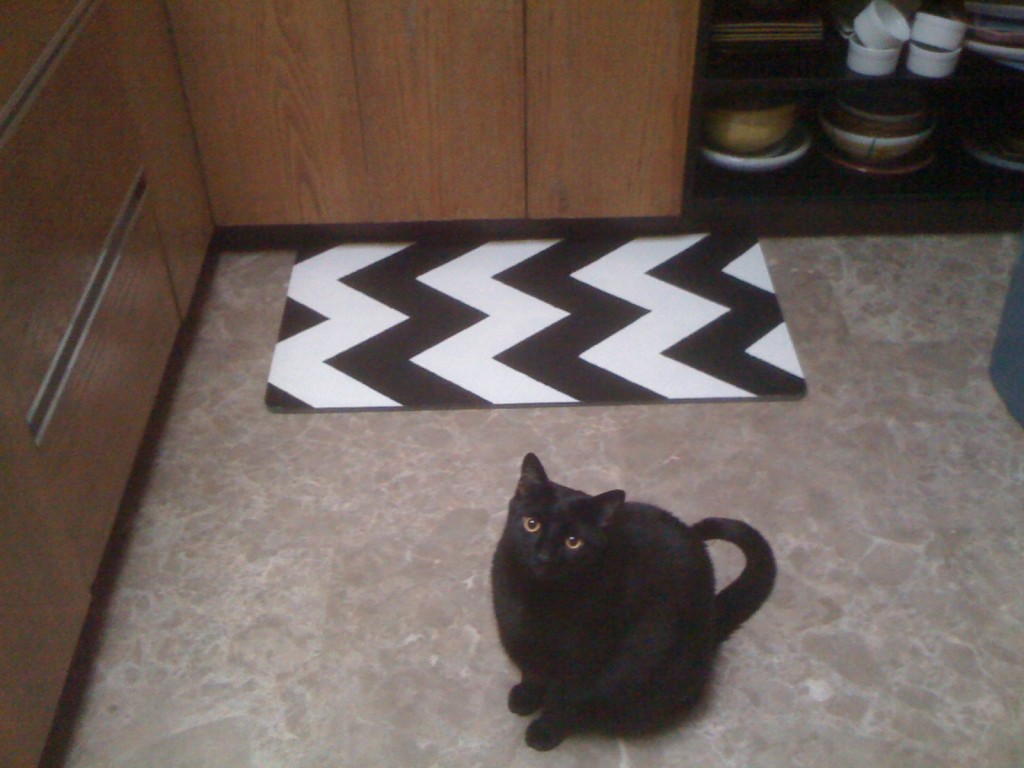
Finally

The finished rug with Izze posing. He is such a ham!

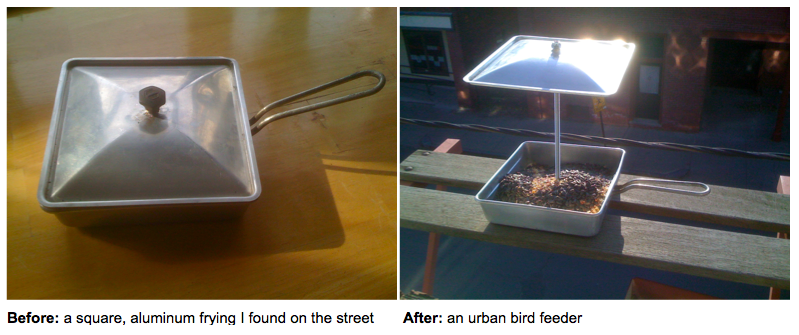
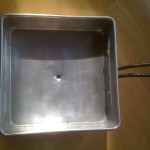
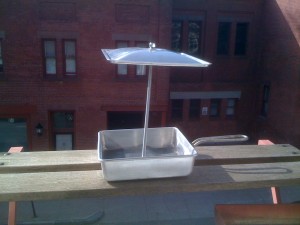
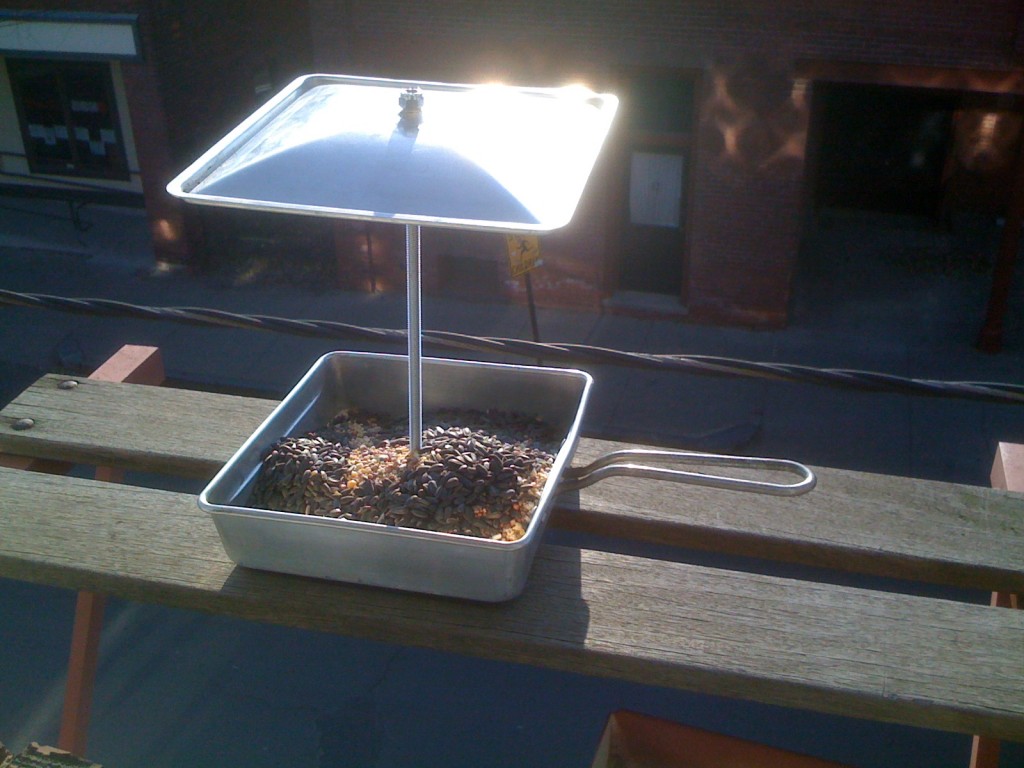
About a year ago I had found this funky square frying pan out on the street. The odd shape attracted me, yet the aluminum metal made it not the greatest frying pan. Fast forward to this year; I wanted a bird feeder and thought about the old frying pan.

_____________________________________________________________________

A trip to the hardware store [one of my favorite places to shop] gave me the bits and pieces I needed.

$1.19  1 -5/16″ threaded rod
$ .99  3- 2″ diameter washers @.33/ea
$ .57  3 -5/16″ nuts @.09/ea
$ .14  1-5/16″ cap nut
_____________
$3.17  Total Cost

________________________________________________________

Step 1: Removing the old lid knob
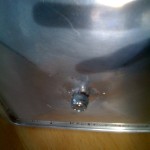
This actually proved to be the most difficult step of the whole project.  However, after some strong wiggling with the pliers, it popped off and left a small hole in the lid, from which I began.

Step 2: Enlarge the hole on the lid
I used a simple drill-bit holder [not professionally recommended, but it worked] to enlarge the hole left by the old lid knob.

Step 3: Prepare lid
As I wanted the lid to remain as a roof, I put the threaded rod into the hole and capped the outside top of the lid with the cap nut.  Then, I added the washer up into the inside of the lid and secured that with another nut.

Step 4: Preparing the bottom of the pan
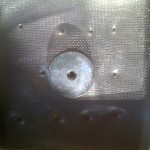
I measured to find the exact center of the bottom pan, marked it and pounded the drill-bit holder to create a small hole.  This was easy, as aluminum is lightweight. I then used a series of drill bits [from my tool box] to further enlarge the hole until it would allow the 5/16″ threaded rod to pass through the bottom of the pan.

Step 5: Drainage
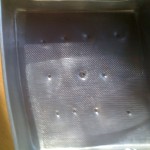
I pounded a few small holes into the bottom of the pan, to allow for any rain/snow drainage-again using the drill-bit holder.

Step 6: Screen lining
To keep the birdseed from falling through the drainage holes, I cut a small square of lightweight screen to line the bottom of the pan. Again, I poking a hole into the screen lining to allow the rod to pass.

Step 7: Attaching the bottom pan
I put a nut onto the threaded rod, then a washer, [just as I had done for the lid in Step 3] positioned the bird feeder onto the slotted perch [the old air conditioner shelf] and -from the bottom- threaded on the washer and the last nut.  I tightened the nuts-to fit snug and straightened out the bird feeder.

Step 8: Fill the feeder and wait.

I often see cardinals flying up and down our street, so I’ve added extra black sunflower seeds in hopes of attracting them to the feeder. I also hope the old air conditioner shelf will serve as a landing pad and dream the hungry birds will soon be perched up onto the edges of the frying pan and have a nice meal.